
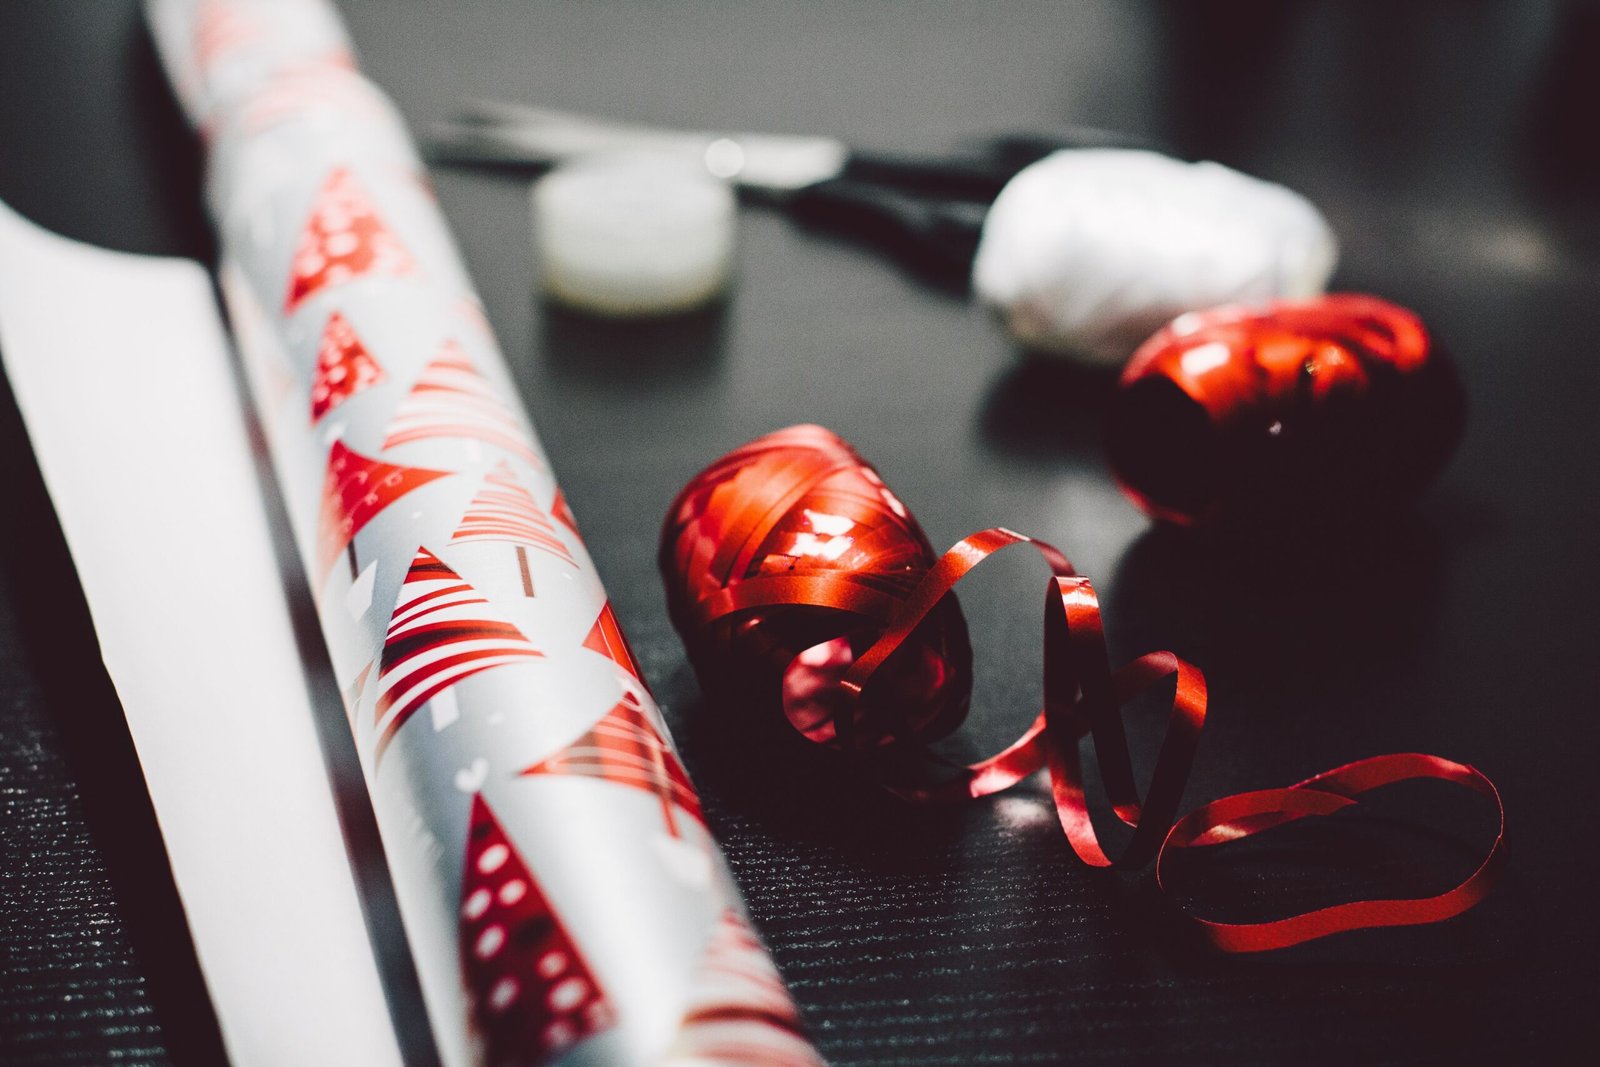
Your gift does not require an expensive ribbon or manufactured ornamentation, even though it is gorgeously wrapped. Using only wrapping paper, scissors, and some determination will produce a whole and aesthetically pleasing bow which will feel perfectly natural on a birthday or holiday gift or one designated for any reason at all.Learning how to make a bow out of wrapping paper is especially useful when you have leftover paper but no matching ribbon, or when you want the entire package to have a coordinated look.
The general concept behind this craft is cutting wrapping paper into strips, forming them into loops, and fastening the loops together to create attractive layers, similar to other paper crafting techniques. You can end up with some quite professional-looking results even with cheap wrapping paper. For a small gift box, there’s a neat mini-bow, use bigger loops and bigger strips for a larger package, or form more loops to make a denser and rounder bow.
This tutorial provides information about all the materials needed, how to pick wrapping paper, and how to construct the bow, step-by-step as well as what to do if it does not look like what you imagined.
What Makes a Wrapping Paper Bow Work?
When learning how to make a bow out of wrapping paper, it helps to understand the basic structure.So what is the bow made of? Really just folds of the wrapping paper folded around and gathered together. Unlike a ribbon bow which relies on the fact that it will “take shape”, the folds have no intention at all but to hold the shape. The paper itself gives them some structure.
Three things make for a nice homemade bow; loops of approximately the same shape, a well secured center, and layers of the loop folds arranged together in a way that the bow looks “deep” rather than flat against its intended background.
The weight and finish of your gift wrap can be important to the outcome. Very light wrap can be manipulated easily, but is much more likely to be damaged by handling. The middle-weight gift wrap will give you a good manipulation and structure balance. Extremely heavy paper can be the best if handled extremely carefully and will make a huge bow, but folding the paper to keep all the folds in place when not in direct use will result in a less tight fold.
The charm of this DIY is that precision is certainly not required and even an imperfect arrangement of loops in your bow will look handmade.
Materials You Need
You do not need a large collection of craft supplies. Most of the materials are probably already around the house.
You will need:
- Wrapping paper
- Sharp scissors
- Double-sided tape, glue dots, or craft glue
- A ruler or straight edge
- Pencil
- A small piece of tape for securing the finished bow
- The gift or box where the bow will be placed
A ruler is useful if you need perfect equal length loops although it is not necessary. When you’re making the bow as an informal gift it’s easy to just judge by eye.
Double-sided tape is often a convenient choice because it creates a clean-looking finished decoration, while craft glue can also work when you allow enough drying time and use it carefully on delicate paper.
Choosing the Right Wrapping Paper
The paper you choose can greatly ease or make it very difficult. Medium weight wrapping paper tends to work well for your first try and folds easily while still being stiff enough to retain loops.
When learning how to make a bow out of wrapping paper, thin paper is useful when you want a softer, more delicate bow. This method also allows you to construct multiple loops to keep it from seeming overwhelming with layers. The risk with using thin paper is that each time you open and refold a particular segment, you run the risk of creasing or tearing it.
Using foil wrapped paper is good for a striking finished ribbon; however, it shows fingerprints much easier and also creates more precise creases. Instead of unfolding and refolding one area several times, intentionally fold as needed.
Printed designs will add a nice touch to the finished bow. Stripes, dots, stars, checks, and other seasonal prints all work wonderfully. Keep a direction in mind if your paper pattern has a pattern with one directional flow.
Match gift wrap and the ribbon so that it goes cohesively together or the gift wrap could simply have color harmony such as for a patterned ribbon, use solid colors or vice versa.
How to Make a Bow Out of Wrapping Paper Step by Step
The easiest method uses several strips of paper that are folded into individual loops and then layered together. This gives you control over the size and fullness of the finished decoration.
Step 1: Cut the Wrapping Paper Into Strips
Begin by tearing a few long, narrow strips from the wrapping paper. Try cutting strips 1-2 inches wide for a medium-size bow. The length will vary depending on your desired bow loop size.
Long loops need long strips and vice versa.
You’ll want to create one smaller center strip along with the multiple longer strips. Try to ensure the length is fairly consistent on your longest strips. Perfectly matching strip width and length isn’t absolutely necessary, but you probably don’t want extremely differing lengths or widths which could give the bow a look of being “off.” If making a large bow, go with longer loops and strips, rather than just making the strips much wider, as wide can look a bit clunky.
Step 2: Create the First Loop
Take one strip and bring its two ends toward the center.
When learning how to make a bow out of wrapping paper, instead of making a simple circle, overlap the ends slightly and secure them with double-sided tape or another suitable adhesive. You should now have a loop that resembles an elongated oval or pointed petal.
Don’t force the loop flat all the way around – there should be an open gap through the center. This forms the width of the bow.
Ensure that the printed or good side of the paper faces outward when you fasten the ends. It makes all the difference in the visual design of each individual loop.
Step 3: Make Several Matching Loops
Repeat the process with the remaining strips.
Try to keep the loops around the same size. If one loops tends to be considerably smaller, put it near the middle of the bow, not the end.
You can use six to eight loops, but fewer loops gives the bow a flatter look and can be a simple present. There really isn’t a set number for every package. What ever number works for the gift your wrapping is fine. Many bows look silly on a small present like a jewel box or the box a compact comes in. And yet a larger package still needs a bigger layer just so the gift wrap doesn’t look too stingy.
Step 4: Arrange the Loops Into Layers
When you have the necessary number of loops, begin to layer the loops.
Place the first two loops face to face with each other, place another two loops at an angle on the first set. Continue layering by rotating so the loops expand away from center on each level, rather than one stack directly above the other. You are creating a star shape if you look down at the finished bow.
The center of the layered loops should then be securely fastened with glue dots, doubledided tape, or a little dab of crafting adhesive that holds but doesn’t smash the loops together. You are finally starting to form a bow! Step away and look at it at different angles and from far away; if you notice that there seems to be more loops on one side, reposition them gently before the adhesive cures fully.
Step 5: Add the Center Strip
Cut a short, narrow strip of wrapping paper for the middle.
This is used around the middle of the bow, not only to disguise the adhesive and any overlaps but to give the overall finished shape. It is simply secured at the back with glue or tape. Center loops can also make the sides appear closer together and ‘ cinch ‘ everything in to make it a recognizable completed bow shape. Keep the center strip quite slim compared to the main loops as over-width center strips are very likely to make the loop sections appear as though they’ve been compressed.
Step 6: Shape the Bow
Now separate and arrange each loop.
Some loops may be squashed during assembly. You’ll need to push between the layers and shape out some space within each loop. You may also have to twist one or two loops into place to create an even bow.
Avoid creasing, or severely bending, the paper – particularly at the edges, the paper can crease quite easily.
If the bow seems flat there isn’t immediately any further material that can be made into loops. Simply lift some of the folds out so they seem to separate slightly from one another.
Step 7: Attach It to the Gift
Place the created bow on the wrapped gift.
Affix it to the paper using double-sided tape or strong glue dots. To remove it cleanly later, stick it down using a removable adhesive that won’t damage delicate paper surfaces.
Placement is key here, as a bow on the dead-center of your gift will result in a formal finish. A slightly askew placement will create a slightly more modern or casual feel.
If your gift has a wide ribbon running width-wise, set the paper bow on one of the intersection points. This will create a harmonious, planned finish.
How to Make the Bow Fuller
The other common problem with handmade paper bows is they look too stringy/sparse. A fast fix to this problem is to add more layers rather than simply make each loop proportionally larger. Add more strips and overlap them in varied directions. Each layer that overlaps gives the illusion of more of a bow from the top.
When learning how to make a bow out of wrapping paper, another useful technique is to vary the loop orientation slightly. If every piece points in exactly the same direction, the decoration can look flat. Rotating successive layers spreads the paper across a wider area.
You can also use two complementary papers. For example, place a patterned layer underneath a solid-colored layer. The contrast makes the individual loops easier to see.
Be careful not to add so many pieces that the center becomes difficult to secure. A bow should look full while still having a stable base.
How to Make Different Sizes
The same underlying design can be adapted for an enormous range of packages.
Use narrower strips and shorter loops when creating for tiny boxes or small presents. Asmall decoration is probably only going to require a few loops and wont be overly out of place.
A more substantial presentation will require more longer strips and a higher quantity of layers. This will produce an aesthetic element that should fit well within most dimensions of medium packages.
A large gift will require significantly longer loops as well as more than the standard quantities of material. However you could consider a number of smaller bows to decorate a larger package, rather than a single one so large that it looks rather like the original gift within.
The whole issue is the relative dimensions of decoration against gift, as a feature should never seem out of proportion in contrast to your present.
Common Mistakes to Avoid
Even a simple paper craft can become frustrating if the construction is approached in the wrong order.
Cutting the strips too short
If the strips are too short, the loops may be tiny and difficult to arrange. It is usually better to begin with slightly longer pieces and trim them if necessary.
Making every loop too tight
A tight loop can make the bow look stiff and flat. Leave enough interior space for the paper to open naturally.
Using too much adhesive
Excess glue can soak through thin wrapping paper, create visible spots, or make the center bulky. Small amounts of adhesive are generally enough.
Flattening the layers
Pressing firmly on the completed bow can destroy the volume you worked to create. Secure the center, then shape the loops rather than flattening the entire decoration.
Ignoring the paper pattern
A directional design can appear sideways or upside down after folding. Before making several strips, test one piece to see how the pattern behaves.
Making the bow too large
A giant bow on a small package can hide the wrapping and make the gift difficult to handle. Match the decoration to the proportions of the box.
Creative Variations to Try
Once you understand the basic method, there are several ways to make the design your own with simple DIY craft ideas for different gifts, occasions, and decorative styles.
Two-Tone Bow
Use two different wrapping papers for alternating layers. Colors that already appear together in the package usually produce the most cohesive result.
Layered Petal Bow
Cut the strips with tapered ends instead of straight ends. When folded, the pointed shapes can give the loops a more decorative, flower-like appearance.
Mini Gift Bow
Use very narrow strips for tiny packages. These are particularly useful for party favors, small boxes, or place settings.
Oversized Statement Bow
For a large holiday package, use long strips and several layers to create a dramatic topper. Make sure the center is securely fastened because larger paper decorations have more leverage on the attachment point.
Mixed-Texture Bow
If you have several types of wrapping paper available, combine matte paper with a slightly glossy design. The difference in surface texture can make the layers more visually distinct.
What If the Wrapping Paper Keeps Tearing?
Typically, tearing is a result of flimsy paper, overworking the folds or pulling too firmly on the strips. Begin with fresh paper and try to make fewer alterations. When a loop looks correctly formed, glue it rather than keep adjusting it.
When dealing with more sensitive paper, make more robust strips.
Broad strips disperse tension along larger amounts of the paper and is somewhat less inclined to split. One other idea is to anchor the center on the back of the paper with a small amount of tape. The tape should end up concealed on the package. If the wrapping paper being used is a collectible or is expensive, practice onscrap paperfirst so that a length of strips that will not result in over-large loops can be developed.
How to Get a More Professional Finish
The difference between a basic homemade bow and a polished one often comes down to small details.
Begin with neat cuts. Smooth cuts from sharp scissors will give you crisper edges than the rounded edges created by blunt ones which crush the paper as you cut.
Let the primary strips be roughly equivalent. There is no requirement to measure these to within the millimeter (although it will create a less ramshackle look, certainly) but let the side strips maintain roughly the same proportion.
Give some consideration to the reverse, as well. Fold any excess tape onto the side where it will show in the back, and neatly enclose the adhesive under the center of the bow.
Lastly, allow the item time and space to arrange itself. Give your bow some ‘breathing space’-separate the different sections of paper so you can tell the various layers apart.
There is no need for handmade decorations to look machine-finished, just the minimum required to look like deliberate construction.
Can You Use Leftover Wrapping Paper?
Certainly. This method is particularly handy to use bits and pieces of wrap too small to wrap another present but big enough to make streamers.
Save larger scraps from bigger gifts instead of tossing them immediately. Extra bits of ribbon from larger presents can also be used as loops or the center wrap for the bow.
Using scraps also enables you to use papers to coordinate with other aspects of your gift package instead of buying more ribbon. When the paper from another present matches the gift wrap for your present, then the homemade bow is perfectly appropriate.
If you are particularly well-organized (like I am not always, and especially about things that would make this one so much easier!), you will be able to have multiple handmade bows made from scraps of wrapping from previous years. Use complimentary colors and/or patterns in order to make a styled “eclectic” looking bow.
How to Store Homemade Paper Bows
Paper bows can be reused if they are stored carefully.
Do not place heavy objects on top of them. Pressure can permanently flatten the loops and create unwanted creases.
A shallow storage box works well. Place the bows in a single layer when possible, or separate them with lightweight tissue paper.
If a bow becomes slightly flattened, reshape the loops by hand before using it again. Avoid ironing wrapping paper because heat can damage printed surfaces, coatings, adhesives, or delicate paper.
Storing finished decorations separately from loose wrapping supplies also helps prevent them from becoming crushed during holiday storage.
When a Different Method May Be Better
While the strip-and-loop is an adaptable style, it isn’t the only means of crafting a paper bow. Individual loops can make larger creations easier to control if using this method instead of trying to make a single piece of ribbon a desired size. Making the folded bow on very thin paper might be easier to handle with very little manipulation.
Making an all-paper template if you need many (like dozens for an party or event) can speed up the cutting process.
Depends on your material, size and appearance. No need to have one style for every package.
Frequently Asked Questions
1.Can regular wrapping paper be used to make a bow?
Yes. Regular gift wrap works well, particularly if it has enough body to hold a folded loop. Medium-weight paper is usually easier to work with than extremely thin or heavy paper.
2.How much wrapping paper is needed?
The amount depends on the size and fullness of the bow. A small decoration may require only a modest scrap, while a large, layered bow needs several longer strips. Start with more paper than you think you need so you can adjust the size during assembly.
3.Can I make the bow without glue?
Yes. Double-sided tape is a convenient alternative, and small pieces of regular tape can also work if they are hidden inside the construction. The attachment method should provide enough support without adding too much bulk.
4.Why does my paper bow look flat?
Flat loops are usually caused by pressing the paper too tightly or stacking the layers directly on top of one another. Open each loop gently and rotate successive layers to create more depth.
5.Can children make wrapping paper bows?
Children can participate in the project, but scissors and adhesives should be used appropriately for their age. An adult can handle cutting while a child helps fold and arrange the loops.
6.Can a wrapping paper bow be reused?
Yes, provided it is stored without being crushed. Carefully made bows can often be reshaped and reused for another gift, especially when the paper is reasonably sturdy.
Final Takeaway
Learning how to make a bow out of wrapping paper gives you an inexpensive way to turn leftover gift wrap into a thoughtful finishing touch. The basic process is straightforward: cut consistent strips, form them into loops, layer the pieces around a secure center, and gently shape the finished decoration.
It’s really crucial to select a card that stands firm on its own, using the right quantity of glue, and giving room for each layer of the loops, so there is depth, not only a flat representation. The design may be basic or use a variety of colors, prints, size and numbers of loops. When you make the first one, you’ll realize this is quite easily adaptable and a good use for spare card for unique gift embellishments rather than having to buy ribbon/bows.
CONCLUSION
Turning sheets of wrapping paper into a bow makes it easy to add a refined and individualized flair to your gift and allows you to refrain from utilizing costly additions such as the added roll of ribbon and extra purchases. By simply cutting, folding, and carefully placing the segments of paper over each other correctly, you will achieve the final personal touch to your gift. Employing the use of stiff gift wrap as well as equal loop size, and gently pleating will help create fuller, neater shapes.
You can try a variety of colors, textures and designs of wrapping paper with different sized bows depending on the occasion.
Once the technique has been learned, handmade bows become easy to accomplish quickly especially since rolls of leftover wrapping paper are readily available.