
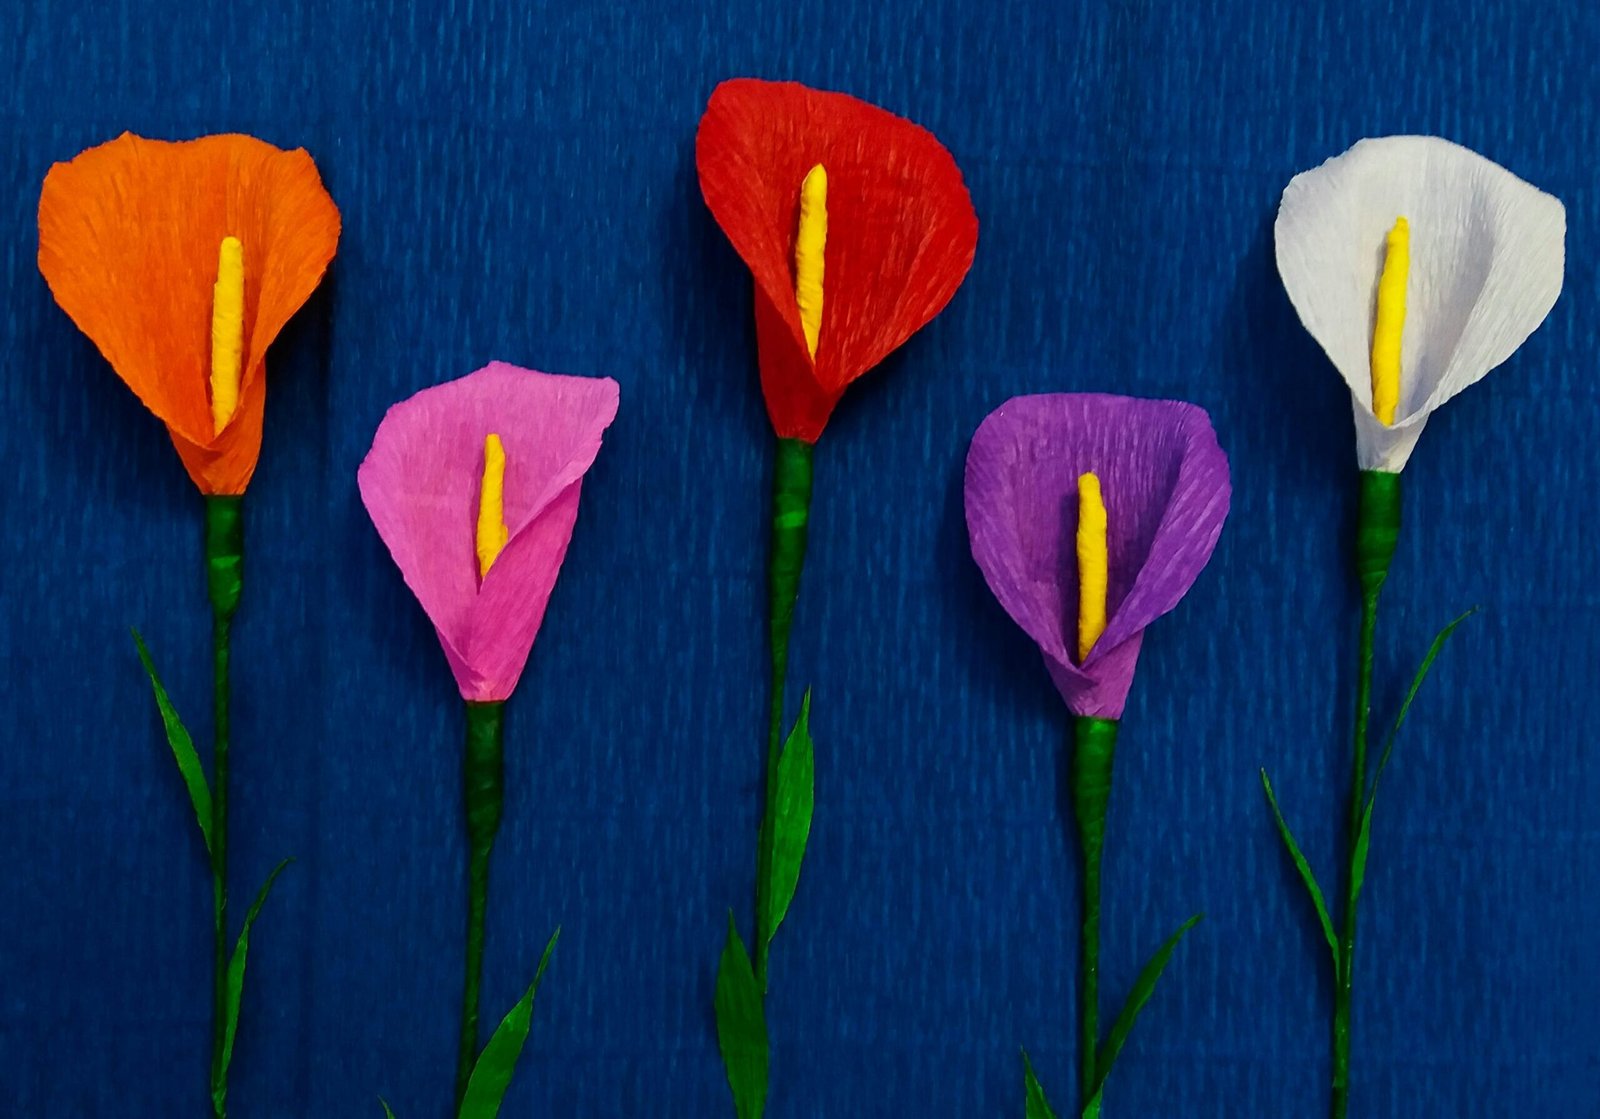
These pipe cleaner flowers are one of those perfect crafts that work for almost everyone: Little kids, classroom groups, last-minute gift givers, and even crafters who want something that looks store bought for their home. They’re colorful, long-lasting, and require very few supplies. If you’ve been searching for how to make flowers out of pipe cleaners, You probably need tried-and-true methods that lead to recognizable blossoms-not just vague, misshapen lumps.
This e-book will give you exactly that: six flowers ranging from super easy to moderately detailed, counts so you can assemble a bouquet, tips for strengthening the stem, troubleshooting your design, and display and gifting ideas. You’ll learn how to adapt these flowers for various ages and skill levels, and learn how to combine pipe cleaners with tissue paper to create mixed-media flowers.
Quick Answer: How to Make Flowers Out of Pipe Cleaners (Basic Method)
If you just want the core idea:
- Choose 1–2 colors for petals and green for the stem and leaves; gather scissors or wire cutters and optional hot glue.
- Form petals by looping a pipe cleaner around a pen or folding and bundling pieces; twist ends to secure.
- Attach a green pipe cleaner as the stem by twisting it through the center; add leaves by folding and twisting green pieces onto the stem.
- Shape petals and center by curling, coiling, or fluffing; repeat to make multiple flowers for a bouquet.
This simple technique is the foundation for nearly all of the pipe cleaner flowers. In the instructions below, you’ll discover how to create six flowers-plus advice on making stems that can support the flowers in vases and arrangements.
Supplies You’ll Need (And How Many for a Bouquet)
Having the right supplies—and enough of them—makes the process smoother, especially if you’re making a bouquet or leading a group craft.
Core Supplies
- Pipe cleaners in assorted colors, including green for stems and leaves. Standard size works for most projects; thicker “chenille” stems give a fuller look.
- Scissors or wire cutters. Wire cutters are recommended for thicker or glitter pipe cleaners, which can dull regular scissors.
- Optional tools: hot glue gun and glue sticks, floral wire, ruler, pen or pencil for looping petals.
Optional Embellishments
- Beads, buttons, glitter, ribbon, small pots, sand or Styrofoam for arrangements.
- Tissue paper if you want to experiment with mixed-media blooms (more on that below).
How Many Pipe Cleaners per Flower?
Counts vary by pattern, but these are good baselines:
- Simple generic flower: about 2–3 pipe cleaners (1–2 for petals, 1 green for stem).
- Daisy/sunflower: about 3–5 pipe cleaners (petals, center, stem, leaf).
- Spiral rose: about 2–3 pipe cleaners.
- Tulip/daffodil: about 4–6 pipe cleaners (multiple petal pieces, center, stem, leaf).
Bouquet Planning
For a 10-flower mixed bouquet, you might plan something like:
- 4 simple flowers (8–12 pipe cleaners total)
- 3 daisies/sunflowers (9–15 pipe cleaners)
- 3 tulips or daffodils (12–18 pipe cleaners)
- Plus extra green for leaves and stem reinforcement.
Having a rough count prevents mid-project trips to the craft store and helps you budget.
Table 1: Pipe Cleaner Counts by Flower Type
| Flower Type | Petal Pipe Cleaners | Center Pipe Cleaners | Stem + Leaf Pipe Cleaners | Total per Flower | Notes |
| Simple generic | 1–2 | 0–1 | 1 | 2–3 | Best for young kids |
| Daisy/Sunflower | 2–3 | 1 | 1–2 | 3–5 | Flat, multi-petal bloom |
| Spiral Rose | 1–2 | 0 | 1 | 2–3 | Classic rolled look |
| Tulip | 3–4 (cut pieces) | 0 | 1–2 | 4–6 | Bud or open style |
| Daffodil | 3 | 1 | 1–2 | 5–6 | Trumpet center |
| Grape Hyacinth | 1–2 | 0 | 1 | 2–3 | Clustered bloom |
Step-by-Step Tutorials: 6 Flower Patterns
These six patterns cover a range of difficulty and styles. You can mix and match them in a single bouquet for variety.
1. Simple Generic Flower (Best for Young Kids)
This is the easiest pattern and a great starting point for children or quick group crafts.
Supplies:
- 1 pipe cleaner for petals (any color)
- 1 green pipe cleaner for stem
- Optional: extra green for leaf
Steps:
- Loop the petal pipe cleaner around a pen or pencil to form 4–6 loops.
- Slide the loops off and pinch the center to create a flower shape.
- Twist the green stem pipe cleaner through the center and secure by twisting.
- Shape petals by gently pulling and curling.
- Add a leaf by folding a small piece of green pipe cleaner and twisting it onto the stem.
Shaping tips:
Vary loop size for different petal shapes; curl ends for a softer look.
Common issues & fixes:
If the stem feels floppy, double the green pipe cleaner or add a short piece of floral wire.
2. Daisy / Sunflower (Flat, Multi-Petal Bloom)
This pattern creates a flat, cheerful bloom that works well in bouquets and wreaths.
Supplies:
- 1–2 pipe cleaners for petals (yellow, white, or mixed)
- 1 contrasting color for center (brown, orange, or dark yellow)
- 1 green for stem, optional extra for leaf
- Optional: floral wire for sturdier stem
Steps:
- Create a star-shaped petal base by looping a pipe cleaner into 6–8 loops and twisting at the center.
- Coil a second pipe cleaner into a tight disk for the center.
- Attach the green stem by twisting it through the center and securing.
- Glue or twist the center disk onto the petal base.
- Add a leaf and shape petals by curling tips outward.
Shaping tips:
Use yellow for the sunflower petals and brown for the center. Use white for the daisy petals with yellow for the center. Rough up the center lightly for added fullness.
Common issues & fixes:
If there is space between the petals, add small filler loops. If center moves, add an additional twist and or dab of hot glue.
3. Spiral Rose (Classic “Rolled” Look)
This rose uses a simple spiral technique to create a classic, recognizable bloom.
Supplies:
- 1–2 pipe cleaners for petals (red, pink, peach, etc.)
- 1 green for stem, optional extra for leaf
Steps:
- Fold a petal pipe cleaner in half and begin rolling from the folded end to form a tight spiral.
- Wrap the loose end around the base and twist it into place to keep it secure.
- Attach the green stem by twisting it through the base of the rose.
- Add a leaf and adjust the outer layers by gently pulling to open the rose.
Shaping tips:
A tighter roll creates a smaller rose; a looser roll makes a bigger bloom. Gently pull outer layers for a more open look.
Common issues & fixes:
If the rose unravels, twist the end tightly or add a tiny glue dot. If the stem feels loose, wrap extra green around the joint.
4. Tulip (Bud and Open Styles)
Tulips require a bit more cutting and bundling but produce a very recognizable shape.
Supplies:
- 5 petal pieces (same color, cut from 2–3 pipe cleaners)
- 1 green for stem, optional extra for leaf
Steps:
- Cut petal pieces to equal lengths (about 2–3 inches each).
- Bundle the petal pieces together and wrap the green stem pipe cleaner tightly around the base.
- Shape petals into a closed bud by keeping them aligned, or curl them outward for an open tulip.
- Add a leaf by folding and twisting a small green piece onto the stem.
Shaping tips:
Keep petals aligned at the base for a neat bud; gently separate and curl for an open flower.
Common issues & fixes:
If petals splay too much, rewrap the base tighter. If the green stem shows between petals, add a small petal wrap to cover.
5. Daffodil (Trumpet Center)
Daffodils have a distinctive trumpet center that sets them apart from other flowers.
Supplies:
- 3 yellow pipe cleaners for petals
- 1 orange or yellow for center cup
- 1 green for stem, optional leaf
Steps:
- Roll three petal loops and twist at the center.
- Coil the center pipe cleaner into a small “cup” and secure.
- Attach the green stem through the center and twist to secure.
- Arrange petals around the trumpet center and add a leaf.
Shaping tips:
Maintain a tight center cup. Tilt the petals back just a little for a more lifelike daffodil shape.
Common issues & fixes:
Too loose round center cup, re-coil a tighter coil. Uneven petals, you can adjust the size of the loops before attaching to the stem.
6. Grape Hyacinth (Clustered Bloom)
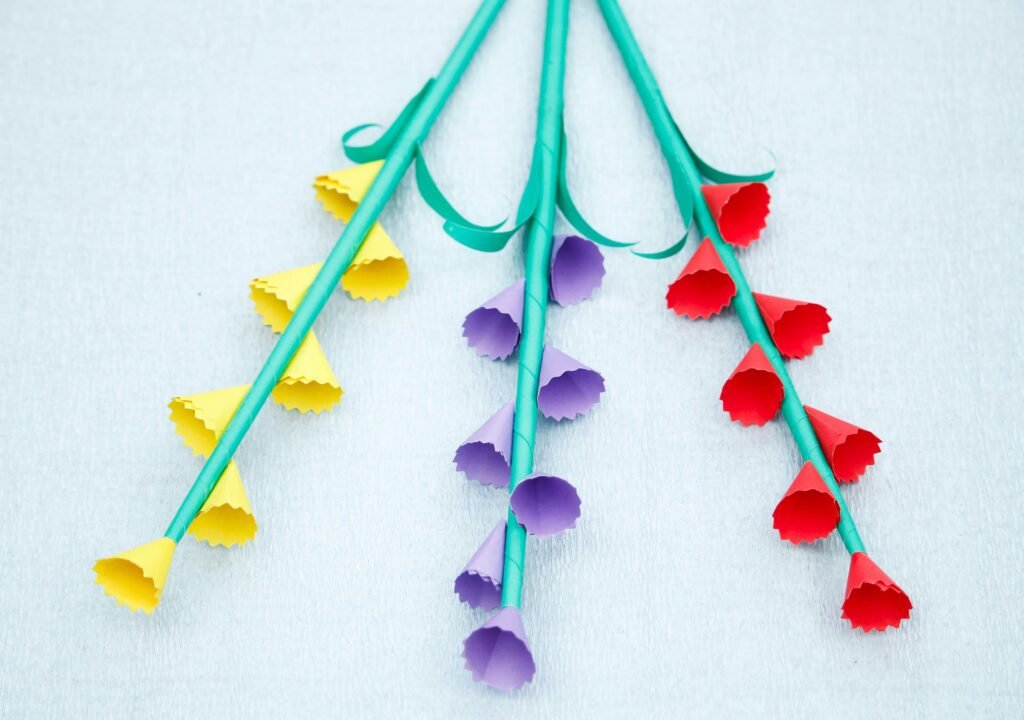
This pattern creates a small, clustered bloom that looks great in pots and mixed arrangements.
Supplies:
- 1–2 purple or blue pipe cleaners for bloom
- 1 green for stem, optional leaf
Steps:
- Coil the purple pipe cleaner around a needle or pencil to form a tight cluster.
- Attach the green stem by twisting it through the base of the cluster.
- Add a leaf and trim any sharp ends.
Shaping tips:
Vary coil tightness according to the density of bloom, crop, or variety. Neatly trim off the end for a clean finish.
Common issues & fixes:
If the cluster is too loose, re-coil it a little bit tighter. Carefully turn under or clip the jagged wire ends.
How to Make Stems Strong Enough for Vases and Arrangements
Design and Assemble As previously mentioned, some of the most common problems I see in many pipe cleaner flower tutorials are weak stems. If you want your flowers to stand up in a vase, or be carried around a lot, beef up the stems.
When to Use Floral Wire
Use floral wire for bouquets that are going in vases, being worn (like crowns, for example), or being shipped/given as a gift. It provides support with very little extra weight.
Basic Wire-Reinforced Stem Method
- Cut floral wire to your desired stem length.
- Align the wire with a green pipe cleaner.
- Twist the pipe cleaner around the wire from base to tip, keeping wraps tight and even.
- Add leaves as usual by twisting small green pieces onto the stem.
Joining Pipe Cleaners Mid-Stem
If you need a longer stem:
- Overlap a new green pipe cleaner with the existing one by about 1–2 inches.
- Twist them together tightly.
- Optionally wrap another green piece around the joint to smooth it out.
Neatening Stems
- Wrap in one consistent direction for a clean look.
- Tuck ends into wraps to avoid sharp tips.
- Avoid leaving bare wire exposed at the top or bottom.
Table 2: Stem Method vs. Use Case
| Stem Method | Best For | Pros | Cons | Recommended For |
| Single green pipe cleaner | Quick kids’ crafts, simple decor | Very easy, minimal supplies | Floppy, not vase-ready | Young kids, temporary displays |
| Doubled green pipe cleaner | Basic bouquets, handling | Sturdier, still simple | Slightly bulkier | Classroom projects, simple gifts |
| Wire-reinforced stem | Vases, crowns, shipping | Strong, holds shape well | Requires floral wire, more time | Adult crafters, gifts, decor |
Scaling Your Flowers: Small, Medium, and Large Versions
If you want a balanced bouquet, scaling matters. Use shorter pipe cleaner segments for smaller flowers and longer segments for larger blooms, keeping petal-to-center ratios similar.
Simple Scaling Rules
- Small flowers: use half-length petal pieces and shorter stems.
- Medium flowers: use standard-length pieces as described in the tutorials.
- Large flowers: use full or extended lengths; consider doubling petal layers for sunflowers or daisies.
Example Measurements
- Small daisy: petal loops about 1 inch; center disk about 0.5 inch.
- Medium tulip: petal pieces about 2–3 inches.
- Large sunflower: petal loops about 2–3 inches; center disk 1–1.5 inches.
Keeping proportions consistent across sizes makes mixed bouquets look intentional rather than random.
Troubleshooting Common Pipe Cleaner Flower Problems
Even with good instructions, issues come up. Here’s a simple guide to fixing the issues that occur most often.
Lopsided or Uneven Petals
- Cause: uneven loops or folds.
- Fix: re-loop petals around a pen or ruler; measure petal pieces for consistency.
Floppy or Weak Stems
- Cause: single green pipe cleaner, no wire.
- Fix: double the green pipe cleaner or add floral wire; wrap tightly.
Centers That Shift or Unravel
- Cause: not enough twists or glue.
- Fix: add extra twists at the base; use a tiny dot of hot glue if needed.
Petals That Splay Too Much (Tulips, Roses)
- Cause: loose base wrap.
- Fix: rewrap base tighter; add a small extra petal wrap to hold shape.
Sharp Wire Ends or Rough Cuts
- Cause: wire cutters/scissors leaving points.
- Fix: trim carefully, tuck ends into wraps, or use finger protectors when cutting.
Advanced Finishing: Making Petals and Leaves Look Fuller
If you want your flowers to look less “wire-like” and more like real blooms, try these finishing techniques.
Gentle Heat/Fluffing Method
For synthetic pipe cleaners, you can gently fluff the fibers:
- Use a low-heat iron or heat press with parchment paper between the iron and the flower.
- Lightly press petals and leaves to lift fibers and create a softer texture.
- Always test on a scrap piece first and avoid high heat that could melt the material, following safe heat crafting practices.
Curling and Shaping Tools
- Use pens, pencils, or small dowels to curl petal tips and leaves for a more natural curve.
- Roll petal ends outward for daisies and sunflowers; curl tulip petals back slightly for an open look.
Layering Petals
- Add a second layer of smaller petals behind the main bloom for depth, especially in sunflowers and daisies.
- This creates a fuller, more dimensional flower without much extra effort.
Display, Gifting, and Project Ideas
Once you’ve made your flowers, think about how to use them in creative craft projects.
Bouquets and Vases
- Arrange mixed flowers in a small vase; use tape or ribbon to secure stems if they’re slipping.
- Combine small daisies, medium tulips, and large sunflowers for a balanced look.
Small Potted Arrangements
- Use clay pots, sand or Styrofoam, and pipe cleaner “dirt” (coiled brown or black pipe cleaners) to create cute desk decor.
- Insert stems into the sand/Styrofoam and cover the surface with coiled “dirt” for a finished look.
Gifts and Toppers
- Attach flowers to cards, gift wrap, hair clips, or magnets.
- Make wreaths and crowns by twisting flowers onto a pipe cleaner or wire base.
Classroom and Group Projects
- For spring craft days, Mother’s Day, or teacher appreciation, have each child make 2–3 simple flowers, then assemble a class bouquet for the front office or each child’s take-home gift.
Mixing Pipe Cleaners with Tissue Paper
If you’re exploring how to make flowers out of pipe cleaners and tissue paper, you can combine both materials for mixed-media blooms.
Simple Mixed-Media Idea
- Use pipe cleaners for stems and centers.
- Layer small squares of tissue paper around the center, pinching and twisting the pipe cleaner to hold them in place.
- Fluff the tissue paper to create a soft, full bloom.
This method particularly works well for carnation style flowers, or big and fluffy bouquets since the tissue paper creates extra fullness to help the pipe cleaners fill out the flower.
Safety and Age Guidance
Concise safety tips assist parents and teachers to implement these projects safely.
Age Recommendations by Pattern
- Simple generic flower and spiral rose: ages 5+ with adult help for cutting.
- Tulip, daffodil, sunflower: ages 7–8+ with more adult involvement for cutting and shaping.
Tool Safety
- Adult supervision for wire cutters, hot glue, and heat tools.
- Teach children to point wire ends away from faces and to tuck sharp ends into wraps.
Allergy and Material Notes
- Glitter pipe cleaners can shed; consider non-glitter for young children or sensitive individuals when choosing child-safe craft materials.
- Hot glue can burn; use low-temp guns for kids and supervise closely.
FAQs: How to Make Flowers Out of Pipe Cleaners
1.How many pipe cleaners do I need to make one flower?
I think it depends on the pattern. The simpler flowers take 2-3 pipe cleaners, and the more detailed flowers such as tulips and daffodils take 4-6. Planning in advance will really help when you start a bouquet.
2.What is the easiest pipe cleaner flower for kids?
The simple generic flower and spiral rose are the easiest. They require minimal cutting and twisting and work well for ages 5 and up with adult help.
3.How do you make pipe cleaner flowers stay in a vase?
Secure stems with floral wire and make sure to maintain straightness. Pack them tightly in a small vase or hold stems with a piece of tape placed across the opening of the vase.
4.Can you make realistic-looking flowers out of pipe cleaners?
Yes. Using detailed patterns (like sunflowers and daffodils), reinforcing stems, and fluffing petals with gentle heat can create surprisingly realistic results.
5.How do you make the petals look fuller and less “wire-like”?
Gently fluff the fibers with a low-heat iron and parchment paper, curl petal tips with a pen or pencil, and consider layering petals for depth.
6.What can I use if I don’t have hot glue?
You can secure centers and leaves with extra twists of pipe cleaner. For mixed-media flowers, thread pipe cleaners through tissue paper and twist to hold layers in place.
7.How do I make a bouquet with consistent flower sizes?
Use scaled measurements for each flower type (small, medium, large) and keep petal-to-center ratios similar. Planning your flower mix ahead of time helps maintain balance.
Conclusion: How to Make Flowers Out of Pipe Cleaners with Confidence
Learning how to make flowers out of pipe cleaners is less about perfection and more about having a reliable set of patterns, Learning how to construct strong stems, and learning to problem solve when your arrangements aren’t quite right. With the six flower shapes in this tutorial-simple generic flower, daisy/sunflower, spiral rose, tulip, daffodil, and grape hyacinth-you can make anything from quick kids’ crafts to beautifully finished bouquets for gifts and decor.
Count your blooms and follow the scaling tips to keep your bouquets the same size, support your stems for arrangements and vases, and when those center petals start looking askew, implement these troubleshooting fixes. Want to experiment? Mix pipe cleaners with tissue paper for fluffy, blousy blooms that give you the benefits of each.
No matter if you are a parent, teacher or just the parent of a pet, crafter or a grown up kid, these tips will leave you well-armed with the knowledge to create pipe cleaner flowers that are purposeful, colorful and fun.